Introduction
Decorative topstitching is visible stitching placed on the outside of a garment. It can emphasize seams, outline pockets, highlight panels, or create a distinctive look on jeans, jackets, shirts, and sportswear.
Unlike hidden construction stitches, topstitching is part of the garment’s visible design. Small differences in spacing, thread color, or stitch consistency can therefore become noticeable across a large order.
For custom apparel buyers, decorative topstitching should be specified clearly and evaluated on the actual fabric before bulk production.
1. Define the Purpose and Location
Topstitching may be decorative, functional, or both.
Some designs use it to highlight a seam or panel, while others use visible stitching to help keep seam allowances flat. These functions may require different placements and construction decisions.
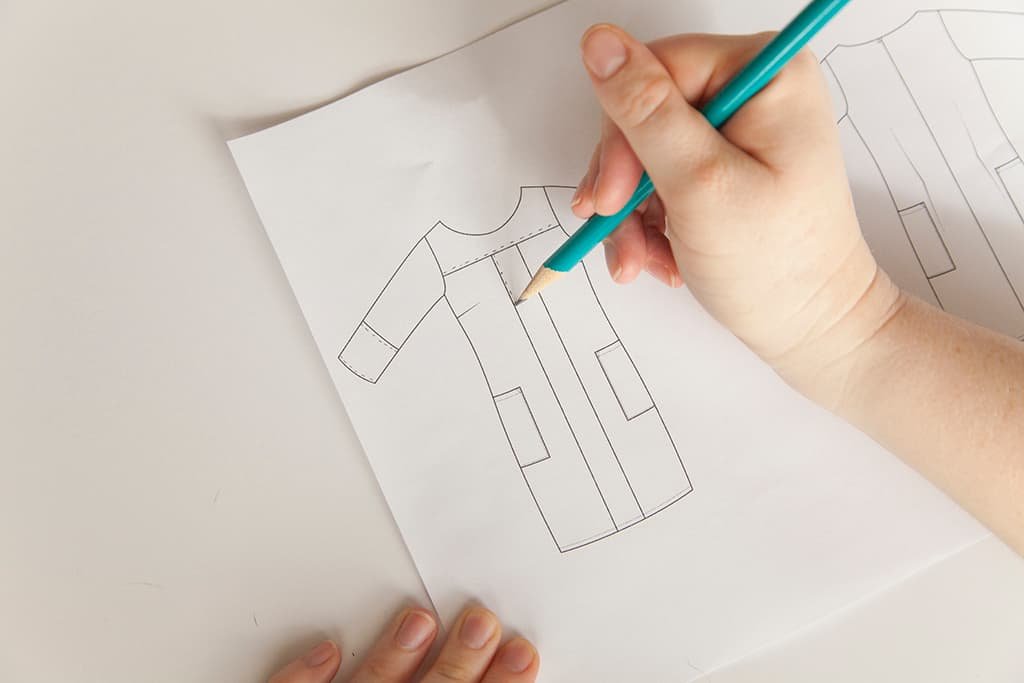
The technical drawing should identify every area that requires visible stitching, such as:
- Pocket edges
- Collar and neckline edges
- Front plackets
- Shoulder or side seams
- Jacket panels
- Waistbands and hems
Buyers should indicate where the stitching starts and stops, including how it should behave at corners and seam intersections.
2. Confirm the Stitching Distance From the Edge
The distance between the topstitching line and the garment edge strongly affects the finished appearance.
A narrow line can create a subtle finish, while a wider distance may create a bolder visual effect.
The specification should define the intended distance and whether the measurement refers to the needle line or another reference point.
For symmetrical details, such as two front pockets, the distance should be consistent on both sides.
A physical sample is useful because the same numerical distance may look different on fabrics of different thicknesses or textures.
3. Select Thread Color Carefully
Thread color can either blend into the garment or create a deliberate contrast.
For example, tone-on-tone stitching can produce a clean and understated finish, while contrasting thread can make construction lines more prominent.
Buyers should specify whether the thread should match the body fabric, a trim color, or an approved color reference.
When contrasting colors are used, inspect the result under consistent lighting. A thread that appears suitable in a digital mock-up may look too bright or too dull when sewn onto the actual fabric.
4. Choose Suitable Thread and Stitch Settings
The thread and stitch settings should be compatible with the fabric and intended visual result.
A thicker thread can create a more prominent line, but it may also require an appropriate needle and machine setup. If the thread is too heavy for the fabric, it may cause puckering, visible needle damage, or an unbalanced appearance.
Buyers should confirm the intended thread type, color, and visible stitch effect with the manufacturer.
Stitch length also influences appearance. Shorter stitches and longer stitches produce different visual rhythms, so the required result should be approved on a sample rather than described only as “fine” or “heavy” stitching.
5. Check Consistency Along Curves and Corners
Straight lines are generally easier to keep uniform than curves, corners, and areas where several seams meet.
If the stitching wanders away from the edge, changes spacing, or forms uneven corners, the finished garment may look inconsistent.
During sample review, inspect:
- Straightness of the stitch line
- Consistent distance from the edge
- Corner shape
- Stitch density
- Start and stop points
- Alignment where two lines meet
For designs with multiple parallel rows of stitching, check the spacing between the rows as well as their distance from the garment edge.
6. Consider Fabric Thickness and Construction
A topstitching design that works well on denim may not be suitable for a lightweight knit or thin woven shirt fabric.
Thicker fabrics can create bulky intersections, while lightweight materials may pucker if the stitching places too much tension on the fabric.
The manufacturer should assess the fabric, seam allowances, thread, needle, and stitch settings together.
If the design includes several layers, check the sample at the thickest intersections, such as pocket corners, waistbands, and overlapping panels.
7. Test the Finished Stitching
Visible stitching should remain attractive after the garment is handled, worn, and washed.
Before approving bulk production, inspect the sample for skipped stitches, loose thread ends, puckering, and broken thread.
After the intended care process, check whether:
- The stitch line remains even
- The fabric around the stitching stays flat
- The thread color remains acceptable
- The stitching remains secure
- The garment does not develop excessive puckering
- The visible lines retain their intended spacing
For garments intended for frequent use, it is also useful to examine areas exposed to repeated bending or friction.
8. What Should Be Included in the Tech Pack?
A topstitching specification should include:
- Stitching location diagram
- Distance from the garment edge
- Number of visible rows
- Thread type and color
- Required stitch appearance and length
- Start and stop points
- Corner and intersection details
- Sample reference and acceptance criteria
Photographs can clarify the desired appearance, but measurements should be used wherever possible to support consistent bulk production.
Our Approach to Custom Apparel
For custom garments with visible topstitching, the approved sample should establish the thread color, stitch appearance, edge distance, and treatment of corners. Reviewing these details on the actual production fabric helps reduce visual variation across the finished order.
Conclusion
Decorative topstitching can make custom apparel more distinctive, but it also makes stitching quality more visible.
Before approving bulk production, buyers should confirm placement, thread selection, stitch settings, and consistency across straight lines, curves, and corners. The approved sample should serve as the reference for the finished result.