

Introduction
Side vents, also called split hems, are openings at the lower part of a garment’s side seams. They are commonly used on polo shirts, casual shirts, sports tops, and some uniforms.
A well-designed vent allows the lower part of a garment to move more freely when the wearer sits, bends, or reaches. It can also create a more relaxed silhouette.
However, a vent is not simply an unfinished section of a side seam. Its length, finishing, and reinforcement need to be specified so that the garment looks intentional and remains durable.
1. Confirm the Purpose of the Vent
Before deciding on measurements, buyers should establish why the garment needs a vent.
A polo shirt may use short side vents to improve movement around the hips. A longer shirt may use a split hem to support a layered or untucked appearance.
The intended function influences the opening’s depth, shape, and finishing method.
Buyers should confirm whether the vent is primarily for mobility, styling, ease of tucking, or a combination of these purposes.
2. Specify the Vent Length and Position
The vent should be measured from a clearly defined reference point, such as the bottom hem.
The technical specification should indicate:
- Finished opening length
- Position relative to the side seam
- Whether the front and back hem levels are equal
- Whether the vent is symmetrical on both sides
- Whether the opening is straight, curved, or shaped
- Any contrast fabric or decorative trim
Do not rely on vague descriptions such as “short side split” or “standard polo vent.” Different interpretations can produce noticeably different garments.
For shirts with a curved or high-low hem, the vent should be evaluated alongside the overall hem shape.
3. Check Edge Finishing
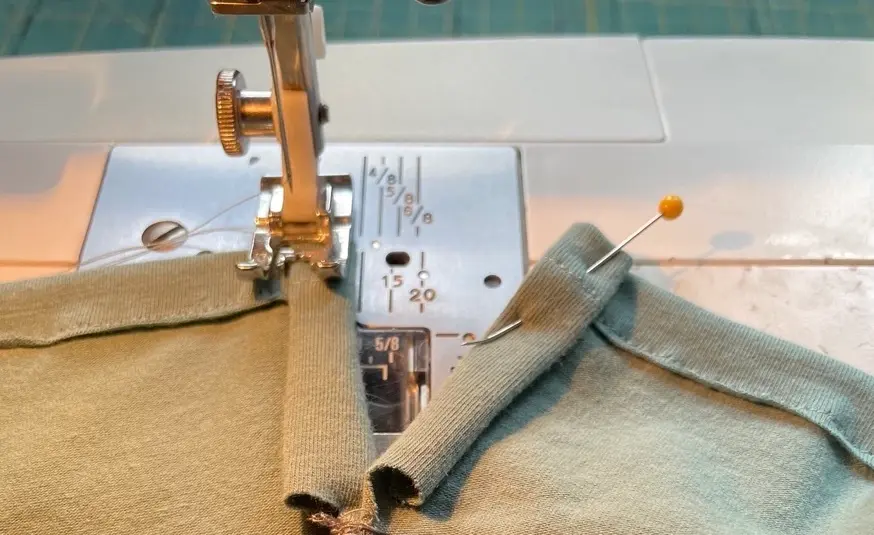
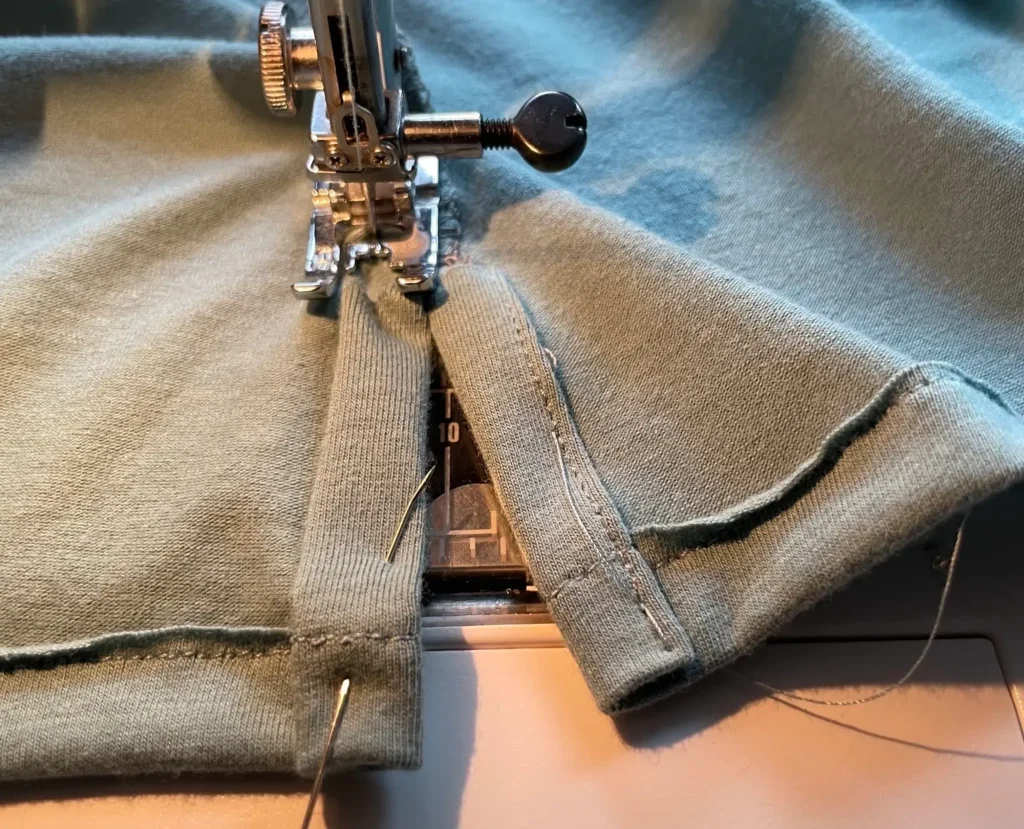
The exposed edges around a vent need to be finished neatly.
Depending on the design and fabric, the manufacturer may use folded hems, facings, binding, or another suitable construction method.
Buyers should inspect the inside and outside of the sample to confirm that the edges are clean and that no raw fabric remains exposed unintentionally.
The finishing method should also match the garment’s overall appearance. A casual knit top and a structured woven shirt may require different approaches.
4. Reinforce the Top of the Opening
The upper end of a vent is a stress point. When the wearer moves, the opening can experience pulling forces that concentrate near the end of the side seam.
If the area is not constructed properly, the seam may begin to separate or the opening may extend beyond its intended length.
Buyers should confirm how the top of the vent is secured. Reinforcement may include a bar tack or another suitable stitching method, depending on the garment construction.
On the approved sample, inspect whether the reinforcement is secure, neatly positioned, and visually consistent on both sides.
5. Evaluate the Vent During Movement
A vent that looks correct on a flat table may behave differently when the garment is worn.
During sample approval, buyers should check whether the opening provides the intended freedom of movement without exposing more of the body than expected.
Useful checks include:
- Walking and sitting
- Reaching and bending
- Tucking the front of the garment into trousers
- Checking whether the vent edges curl outward
- Confirming that the opening does not pull excessively
For workwear and team uniforms, testing should reflect the movements that wearers are likely to make during daily use.
6. Check Symmetry and Hem Alignment
Uneven vents can make a garment look poorly finished even when the difference is small.
Compare the left and right openings, including their lengths, reinforcement, and edge stitching. Also check how the front and back hems meet the vent.
For garments with contrast tape or decorative trim, the trim should end consistently on both sides.
A measurement sheet and reference photographs can help the production team reproduce the approved appearance.
7. Consider the Fabric and Garment Weight
Fabric thickness and flexibility influence how a vent hangs.
A lightweight jersey may curl or stretch at an unfinished opening, while a heavier woven fabric may require more careful control of bulk at the vent’s upper corner.
Buyers should assess the vent construction together with the selected fabric, hem depth, and intended fit.
If the garment is expected to undergo frequent washing, the sample should also be checked for changes in shape, curling, and seam distortion after the agreed care process.
8. What Should Be Included in the Tech Pack?
A useful vent specification should include:
- Vent location and finished length
- Front and back hem measurements
- Edge-finishing method
- Reinforcement details
- Trim or binding specifications
- Symmetry requirements
- Reference photographs
- Sample approval criteria
For garments with several sizes, confirm whether the vent length remains fixed or changes according to garment size.
Our Approach to Custom Apparel
For custom shirts, polos, and uniforms, side vents should be reviewed as part of the overall fit and hem design. A clearly measured opening, consistent finishing, and secure reinforcement help ensure that the detail works as intended in the finished garment.
Conclusion
Side vents can improve both the function and appearance of custom apparel, but their quality depends on careful measurement and construction.
Before approving bulk production, buyers should confirm the vent dimensions, check the reinforcement, compare both sides, and test the garment during normal movement.