
Introduction
For private-label clothing brands, hangtags are a small but visible part of the finished product. They can communicate brand identity, product information, pricing, or collection details before the customer even tries on the garment.
Because hangtags are often ordered separately from the clothing, their design and production can be overlooked during apparel development. A spelling error, incorrect barcode, unsuitable attachment, or inconsistent size can create avoidable problems when the finished garments are ready to ship.
Buyers should therefore approve hangtags as part of the overall custom apparel specification.
1. Decide What the Hangtag Needs to Communicate
Start by defining the purpose of the hangtag.
Depending on the product and sales channel, it may contain the brand name, logo, product name, style number, price, barcode, QR code, collection information, or a short product message.
Not every hangtag needs every type of information. Avoid overcrowding the design with details that could be communicated elsewhere.
Create a final content list before the artwork is prepared, and identify which information is mandatory for your own retail or inventory process.
2. Check Artwork and Text Carefully
Review all wording, numbers, symbols, and graphic elements before approving the print file.
Confirm that the logo is current and that the text is readable at the final printed size. Pay attention to small text, punctuation, multilingual wording, and spacing around the edges.
If the hangtag contains a barcode or QR code, test the final version at its intended printed size. A code that looks correct on a computer screen may not scan reliably after printing or finishing.
Use a controlled final artwork file so the printer and garment supplier are not working from different revisions.
3. Choose the Material and Finish
Hangtags may be produced using different paper stocks and finishing methods. The appropriate choice depends on the brand identity, budget, product positioning, and expected handling.
Before approval, confirm:
- Material type and thickness.
- Finished dimensions and shape.
- Printing method and color references.
- Surface finish or coating.
- Hole size and location.
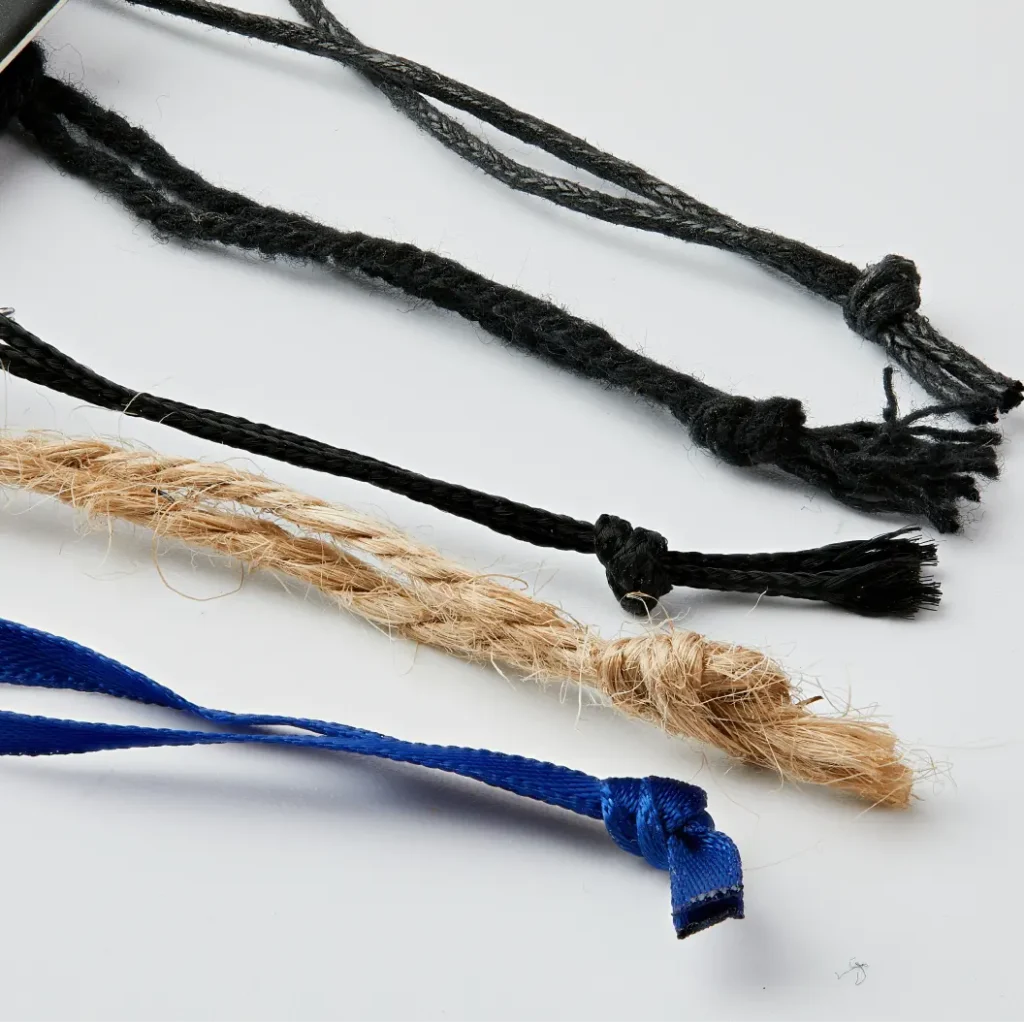
- String, cord, pin, or other attachment method.
Request a physical sample when the material feel, thickness, or finish is important to the design.
4. Confirm the Attachment Method
The way a hangtag attaches to a garment affects both presentation and practicality.
Confirm where the tag should be attached and whether the attachment could damage the fabric, leave marks, or interfere with folding and packing.
For delicate garments, lightweight materials, or products with special surface finishes, test the proposed attachment on a representative sample.
If several garment styles are included in one order, check whether the same attachment method is appropriate for all of them.
5. Keep Hangtags Separate from Required Garment Labels
Hangtags are usually removable, while certain garment information may need to remain attached or accessible under the rules of the destination market.
Do not assume that putting all product information on a hangtag automatically satisfies textile labeling requirements.
Depending on the market and product, requirements may apply to fiber content, country of origin, care information, or other disclosures. Confirm the applicable rules for the intended sales destination and ensure that the required information appears in the appropriate place and format.
6. Check Product Codes and Size Information
For orders containing multiple styles, colors, and sizes, product identification must be consistent.
If the hangtag includes a style number, SKU, size, or barcode, compare it with the buyer’s approved product list. Check that the information corresponds to the actual garment and is not copied from another style.
For a multi-size order, agree how each size will be identified and how any product-code changes will be communicated before printing.
7. Confirm the Quantity and Delivery Schedule
Hangtags are often produced separately from garments, so their delivery schedule must be coordinated with the main order.
Confirm the quantity required for each style and whether extra tags are needed for sampling, damage, or packing adjustments. Establish when the final artwork must be approved and when the finished tags must reach the garment manufacturer.
A delay in hangtag delivery can delay packing or shipment even if the garments themselves are complete.
8. Review a Finished Sample Before Bulk Printing
Before authorizing a large hangtag order, review a physical sample or a reliable production proof.
Check the finished dimensions, paper or material quality, color appearance, print sharpness, attachment hole, and readability of small text. Test barcodes and QR codes using the intended scanning method where relevant.
Also attach the hangtag to a garment sample to confirm its scale, position, and overall presentation.
Our Approach to Custom Apparel
For private-label apparel, hangtags should be coordinated with the garment design, brand labels, product codes, and packing instructions. The approved specification should identify the artwork revision, material, dimensions, attachment method, quantity, and delivery timing.
This makes it easier to maintain a consistent presentation across different styles and repeat orders.
Conclusion
A hangtag may be small, but errors can affect product identification, brand presentation, and shipment readiness. By confirming the content, artwork, material, attachment, labeling requirements, and delivery schedule before bulk printing, buyers can reduce avoidable corrections and keep custom apparel orders organized.