
Belt loops are small fabric components, but their placement and construction can affect the appearance and everyday usability of custom trousers, shorts, skirts, and some uniforms. Loops that are too narrow for the intended belt, unevenly spaced, or weakly attached may cause problems after the garments are delivered.
For B2B orders, buyers should define the belt-loop requirements before the supplier finalizes the garment construction.
1. Confirm the Intended Belt Width
The loop opening must accommodate the belt the garment is designed to use. Specify the intended belt width and confirm the finished internal opening of each loop.
Do not rely on the cut width of the fabric strip alone. Folding, stitching, and turning the strip affect the finished dimensions.
If the garment is designed for a particular work belt or accessory, provide a physical reference or dimensional specification. This is especially useful when the belt is wider or thicker than a conventional dress belt.
2. Define the Number and Position of Loops
Specify the number of loops and their positions around the waistband. Common placement patterns vary by garment type and design, so the supplier should follow the approved technical drawing rather than assume a standard layout.
Check the positions relative to the center front, side seams, darts, and center back. For trousers with visible stripes or other alignment-sensitive details, confirm how the loops should align with the garment’s design.
If different sizes require adjusted positions, include those requirements in the pattern or grading instructions.
3. Choose the Right Loop Construction
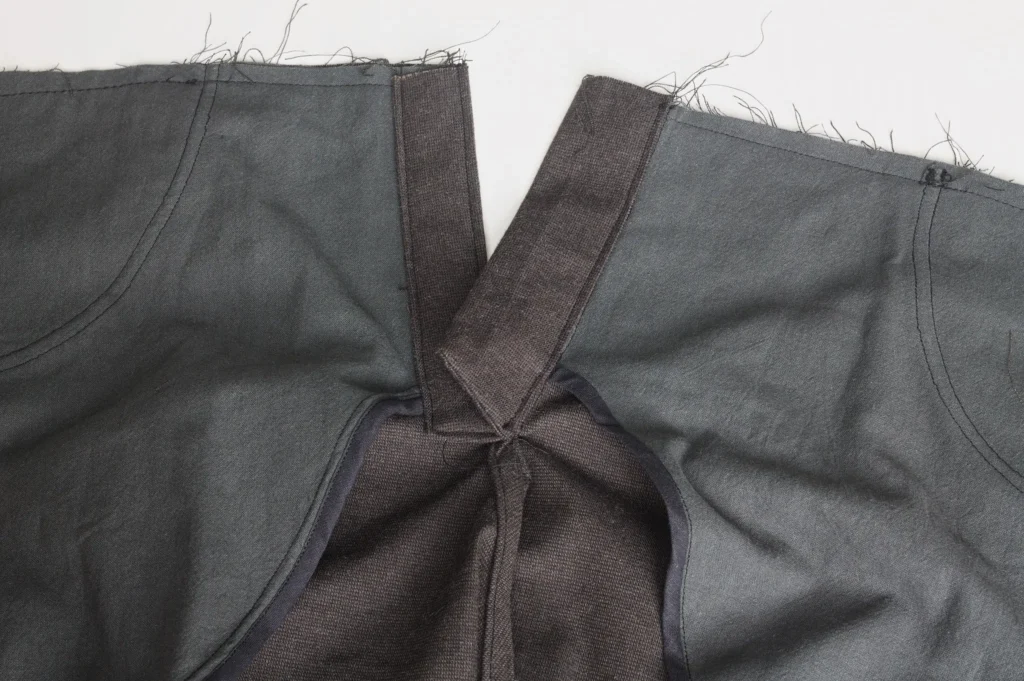
Belt loops can be made from self-fabric, a suitable secondary material, or another specified component. Their finished width, thickness, stiffness, and edge appearance should match the garment.
A heavy workwear fabric may need a different loop construction from a lightweight pair of trousers. Excessively bulky loops can look awkward, while loops that are too soft or narrow may not hold their shape as intended.
Approve the actual construction on a sample, including the folded edges and visible stitching.
4. Check How the Ends Are Attached
The attachment points experience repeated pulling during normal use. The loop ends should therefore be secured using a method suitable for the fabric and garment purpose.
Inspect whether the upper and lower ends are stitched evenly and whether the reinforcement looks appropriate. Check for loose ends, skipped stitches, fabric damage, and visible distortion around the waistband.
For workwear that carries tools or accessories on a belt, clarify the intended use. Do not assume that ordinary belt loops are designed to support the weight of heavy equipment unless the construction has been specified and evaluated for that purpose.
5. Approve the Waistband as a Complete Assembly
Belt loops should be evaluated together with the waistband. Their placement may affect the waistband’s appearance, the way the belt sits, and the balance of the garment.
On the finished sample, thread the intended belt through the loops and check whether it moves smoothly, stays in position, and sits as expected. Inspect the garment while worn or on an appropriate form to check symmetry and alignment.
Record the approved loop dimensions, quantity, placement, material, and attachment method in the product specification.
Our Approach to Custom Apparel
A clear belt-loop specification includes the intended belt width, finished loop size, number of loops, position, fabric, and reinforcement details. Buyers should evaluate these features together on a production-representative sample.
This is particularly important for uniform programs where the same garment design must remain consistent across different sizes and repeated orders.
Conclusion
Belt loops should not be treated as an insignificant finishing detail. Confirming their size, placement, and attachment before bulk production helps ensure that custom trousers meet the buyer’s practical requirements and appearance standards.