
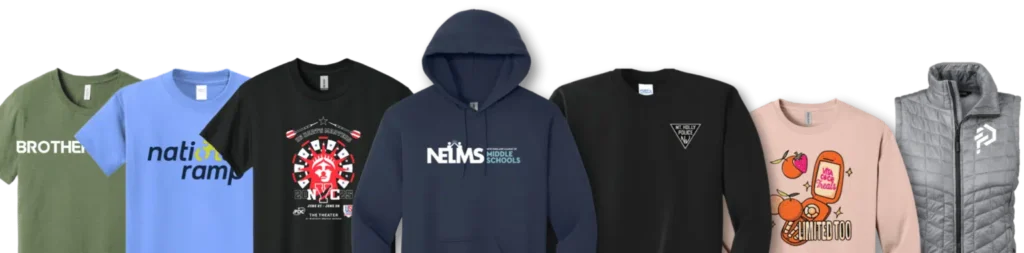
A company logo may look correct on a computer screen but appear too large, too low, or poorly positioned on the finished garment. For businesses ordering customized team apparel, small branding inconsistencies can make uniforms look unprofessional and weaken a unified corporate image.
Before approving bulk production, buyers should define exactly how the logo will appear on each garment style, color, and size.
1. Create a Separate Placement Specification for Each Garment
A logo position that works well on a polo shirt may not work equally well on a jacket, hoodie, or T-shirt. Different necklines, seams, pockets, and garment proportions can change how the logo looks when worn.
For each garment style, confirm:
- The location of the logo, such as the left chest, right chest, sleeve, back, or upper back.
- The logo’s finished width and height.
- The distance from the neckline, shoulder seam, pocket, or other reference point.
- Whether the logo should be centered visually or positioned according to a measured distance.
- Whether the same placement applies to all garment sizes.
Whenever possible, use a placement diagram with measurements rather than relying on descriptions such as “near the chest” or “slightly below the shoulder.”
2. Confirm Logo Scale Across Different Garment Sizes
A logo that looks balanced on a small shirt may appear too small on an extra-large jacket. Conversely, a large logo that works on outerwear may overwhelm a smaller garment.
Buyers should decide whether the logo will remain the same physical size across all sizes or be adjusted for selected garment categories. Neither approach is automatically correct; the important point is to make the decision before production.
For large size ranges, request sample photographs or physical samples representing relevant sizes. Check the logo’s proportions and its relationship to the garment’s overall shape.
3. Check the Decoration Method and Fabric Compatibility
Logo placement and decoration method should be evaluated together. Embroidery can add texture and structure, while screen printing and heat-transfer methods create different surface effects.
For lightweight fabrics, dense embroidery may cause puckering or make the chest area feel stiff. On some textured or stretch fabrics, printed designs may require a different application method to achieve the intended appearance.
Ask the supplier to confirm that the selected method is suitable for the garment material. Approve a physical sample when the logo’s texture, flexibility, or appearance is important.
4. Control Logo Files and Color References
Do not assume that a supplier can identify the correct logo from several files named “final logo” or “new logo.”
Provide one approved artwork file and record its version. Include the intended logo colors, proportions, clear-space requirements, and any permitted changes.
For embroidery, confirm thread colors and whether small details need to be simplified. For printed logos, specify the applicable color references and ask how the supplier will handle colors that are difficult to reproduce exactly on the selected fabric.
The objective is to preserve brand recognition while allowing only agreed production adjustments.
5. Approve the Actual Garment, Not Only a Digital Mockup
A digital proof is useful for checking artwork, spelling, and approximate positioning. However, it cannot fully demonstrate how a logo will look on a real garment.
Before approving bulk production, inspect a physical sample for:
- Logo size and alignment.
- Distance from seams and pockets.
- Color and contrast against the garment.
- Embroidery density or print finish.
- Distortion when the garment is worn.
- Consistency between the approved specification and the sample.
If corrections are required, send annotated photographs and specific measurements. Avoid vague feedback such as “make it look better.”
6. Record the Approved Standard for Future Orders
Companies often reorder uniforms for new employees, additional offices, or replacement garments. Without a retained standard, the logo may gradually shift in size, placement, or color.
Keep the approved artwork, placement measurements, decoration method, garment style, and sample photographs together. Identify the approved version in the purchase order or production specification.
This gives the supplier a clear reference and helps the company maintain a consistent appearance across departments and future orders.
Final Checklist Before Placing the Order
Before authorizing production, confirm that:
- The correct logo file and version have been supplied.
- Each garment style has a defined placement and finished logo size.
- Relevant garment sizes have been checked.
- The decoration method is compatible with the fabric.
- Logo colors and artwork adjustments have been approved.
- The physical sample has been reviewed.
- The final standard has been documented for repeat orders.
Conclusion
Corporate logo placement should be treated as a controlled production specification, not a minor design detail. Clear measurements, approved artwork, physical samples, and retained records help B2B buyers reduce avoidable errors and achieve a more consistent corporate appearance.